


What it's about?
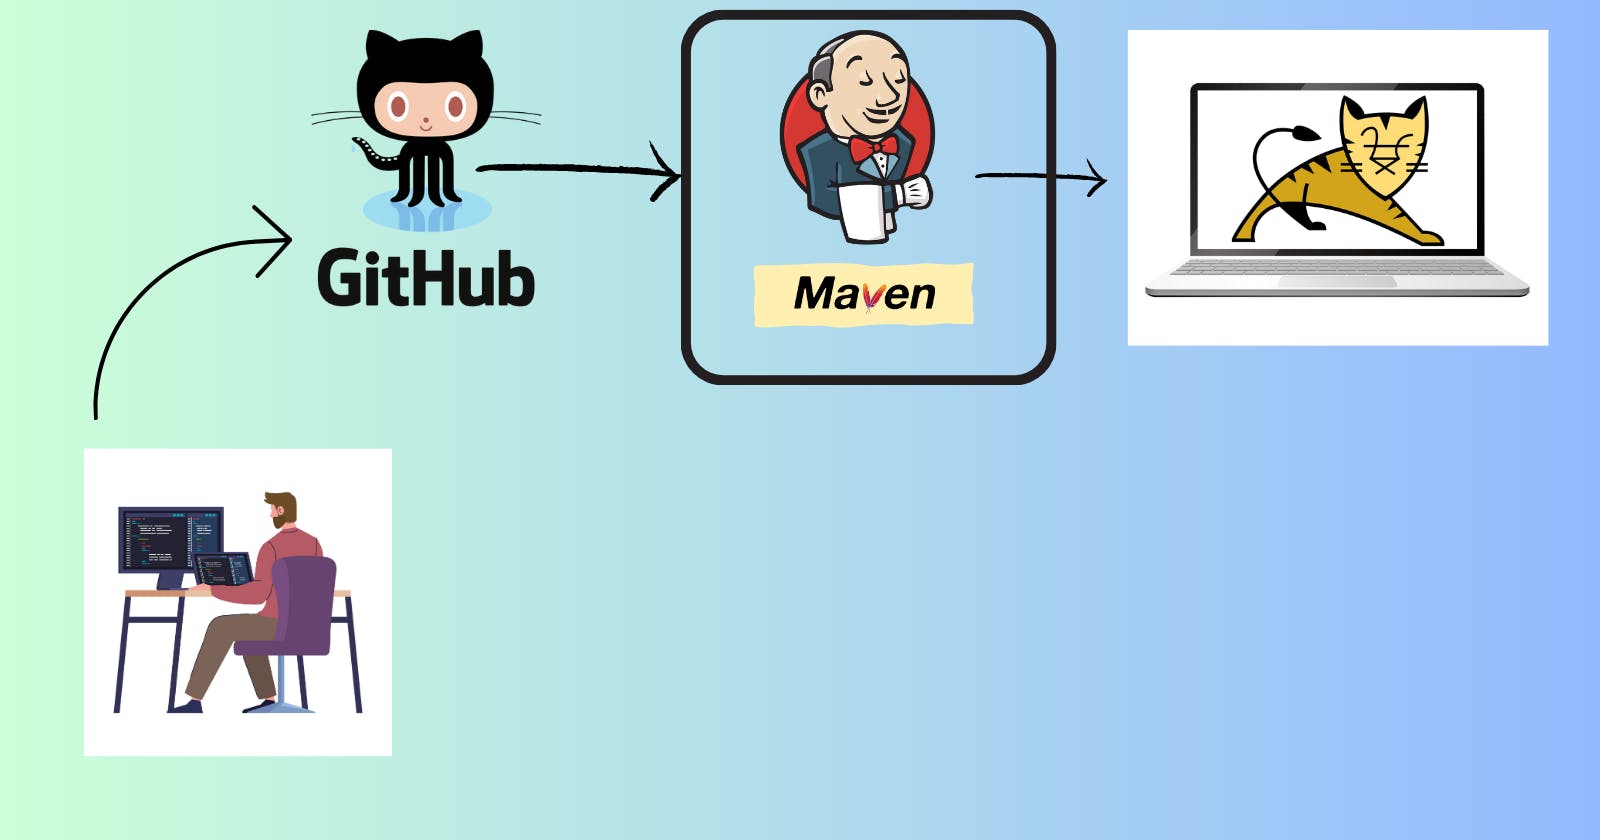
In this tutorial, we will deploy a Java-based application on a web server. The source code will be automatically retrieved from the GitHub repository and then proceed through the build phase. Once the build phase is successfully completed, the application will be automatically deployed on the web server. This entire process will be automated; meaning, as soon as developers upload the code to the GitHub repo, it will automatically trigger a build, generate artifacts, and then deploy those artifacts on the web server. We will utilize Jenkins for automatic builds and deployment, and Tomcat as the application server where the applications will be deployed.
Prerequisite
In this tutorial, I have covered everything from scratch to ensure it is easy for you to follow along. The code is sourced from a public repository, which you can also use. If you wish to make changes to the code and fork the repository, you will need a GitHub account.
You also need an AWS account to create instances.
Workflow
Create two AWS EC2 instances to run Jenkins and Tomcat.
On one instance, install Jenkins, Maven, and JDK. On the other instance, install Tomcat.
Set up Jenkins and create a new Maven job. Then, build the pipeline.
After building the pipeline, artifacts will be generated, and these artifacts need to be deployed on the application server.
Install the necessary plugins for deploying the application. Configure the job to utilize the plugins, and then deploy the application onto the server.
Integrate a GitHub webhook to automate the build and deployment process.
Create AWS instances
First, log in to your AWS account from this link. If you do not have an account, you can set it up using this documentation page.

After logging in, search for 'ec2' in the search box.
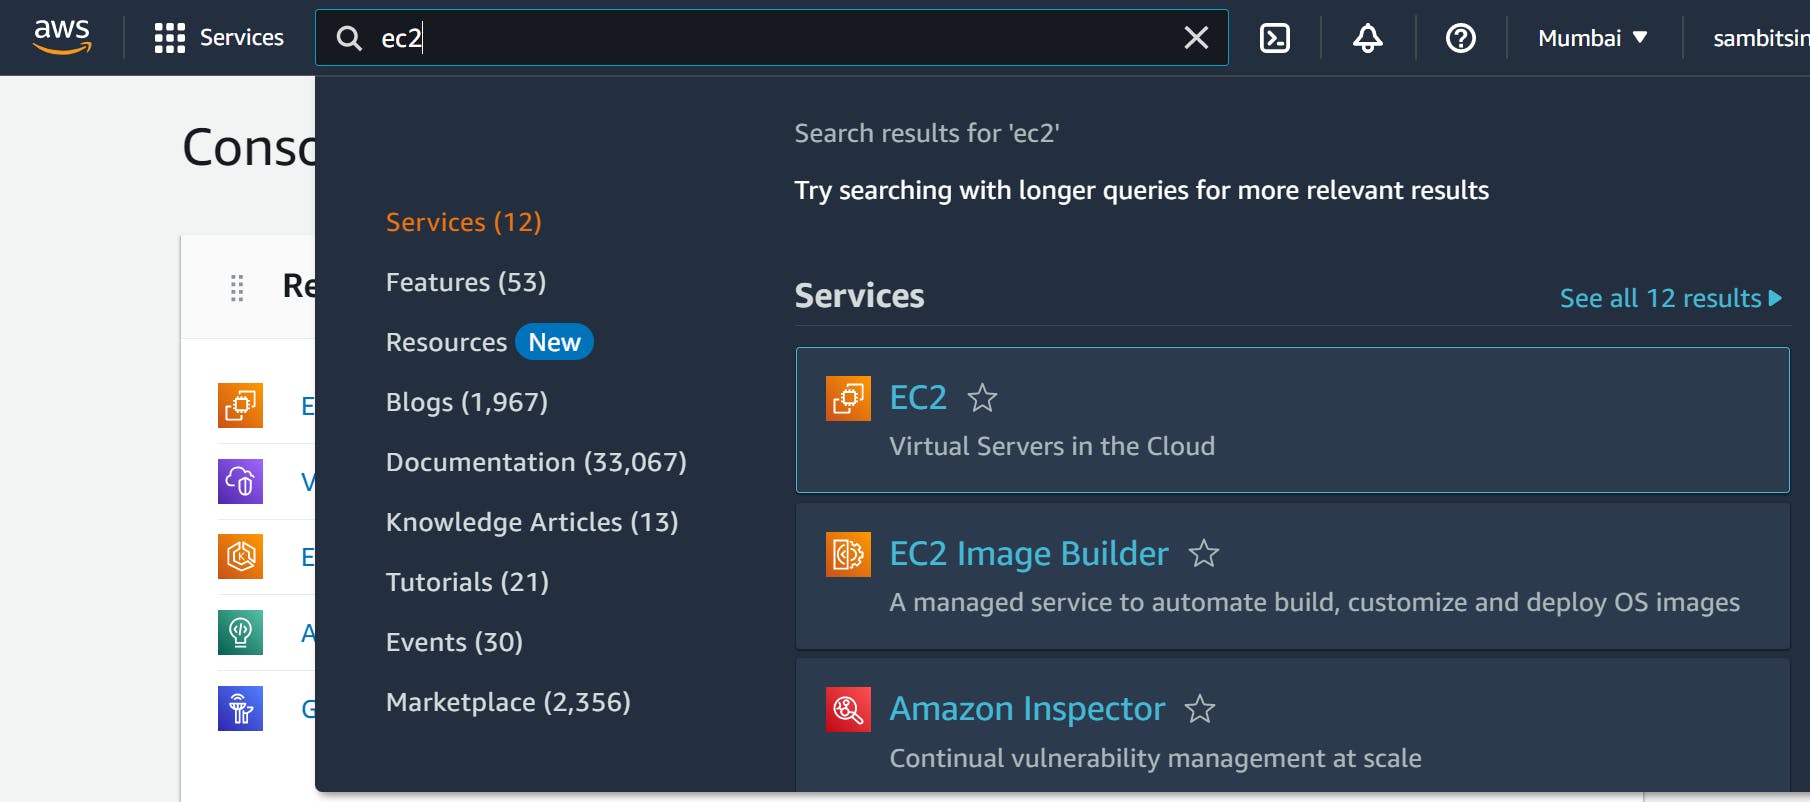
After clicking on EC2, click on instances.
Click on Launch Instances.

On the create instances page, do the following:
-> Give the name 'Jenkins - Server' in the name section.
-> Number of instances should be 1.
-> Select 'Ubuntu' from the OS images.
-> In the key-pair section, click on 'Create new key pair' and provide a name and leave everything else as default. Then click on 'Create key pair'
-> Leave everything else as default and click on 'Launch instance'
Now you have created a server to run Jenkins, Maven and JDK. Similarly, follow the above steps to create another server to run Tomcat and name it 'Tomcat - Server'. We will use 'Amazon EC2' instead of 'Ubuntu' for the Tomcat server. Only the underlying os is changed, the rest of all things are the same.
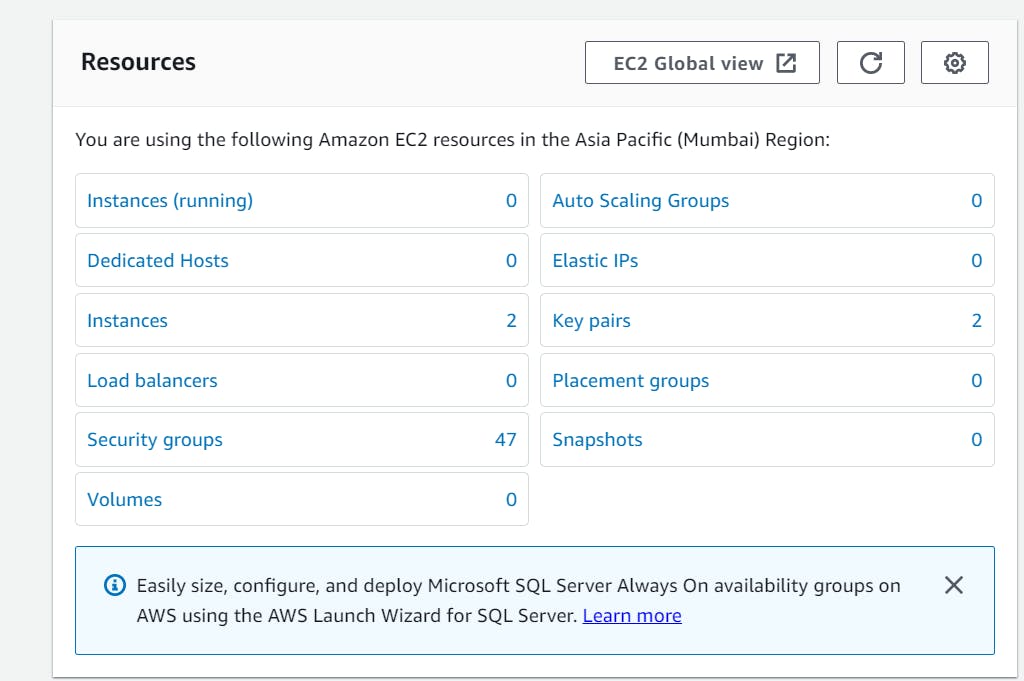
If you follow the above steps, our servers should be ready by now.

Upon server creation, it starts in the initialization state.

Install Jenkins
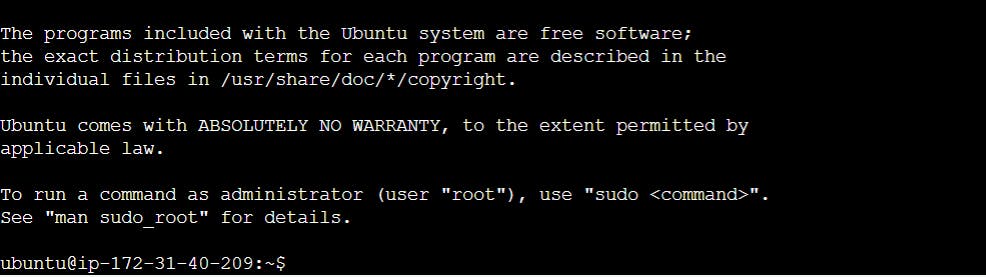
To install Jenkins, we have to log in to the Jenkins server. Select 'Jenkins - Server' instance from the list and click on 'Connect'. It will prompt you to enter a username, leave the defaults and click on connect.

This will give access to the server from the web browser itself.
Run the following commands sequentially to install:
  curl -fsSL https://pkg.jenkins.io/debian-stable/jenkins.io-2023.key | sudo tee \
    /usr/share/keyrings/jenkins-keyring.asc > /dev/null
  echo deb [signed-by=/usr/share/keyrings/jenkins-keyring.asc] \
    https://pkg.jenkins.io/debian-stable binary/ | sudo tee \
    /etc/apt/sources.list.d/jenkins.list > /dev/null
  sudo apt-get update
  sudo apt-get install jenkins
As Jenkins needs Java to run, we also have to install JDK.
  sudo apt update
  sudo apt install openjdk-11-jre
Run
java -versionto check the installed Java version.After installing Java, we have to also set the path variable as it allows your operating system to locate the Java executable files without specifying their full path every time you want to use them. This means you can run Java commands from any location in your command prompt or terminal. To set the path variable, add these instructions to the
.profilefile present under the user's home directory:/home/your_username/.profileTo open the
.profilefile typevi .profilein the terminal and press enter. This will open the file. Press 'i' to go into the insert mode. Scroll down and paste these instructions. After pasting press 'esc' to exit the insert mode and then type:wqand press enter to exit the terminal.JAVA_HOME='/usr/lib/jvm/java-11-openjdk-amd64/' PATH="$JAVA_HOME/bin:$PATH" export PATHTo immediately apply the changes, run this command from the user's home directory:
source .profileNow that we have installed Jenkins, we have to enable it so that it starts automatically at boot time:
sudo systemctl enable jenkinsThen, start the Jenkins service:
sudo systemctl start jenkinsCheck the status of Jenkins service:
sudo systemctl status jenkins
Install Maven
First, download the Maven binaries:
sudo wget https://dlcdn.apache.org/maven/maven-3/3.9.2/binaries/apache-maven-3.9.2-bin.tar.gzExtract the compressed file:
sudo tar -xvf apache-maven-3.9.2-bin.tar.gzMove the extracted folder under the /opt directory:
sudo mv apache-maven-3.9.2 /opt/Like Java, we also have to add Maven to the path system variable. Add these instructions in the
.profilehidden file. After saving the file run this command to apply the changes:source .profileM2_HOME='/opt/apache-maven-3.9.2/' PATH="$M2_HOME/bin:$PATH" export PATH
Configure Jenkins
After successfully installing Jenkins, we need to configure it by creating a new user, installing plugins, and so on. By default, Jenkins is accessible at port 8080, which means you can find it at the address <public-ip-of-your-instance>:8080. However, only port 22 is enabled by default, with all other ports being closed. Consequently, even if the Jenkins service is running on the instance, it will not be accessible until the appropriate port is opened.
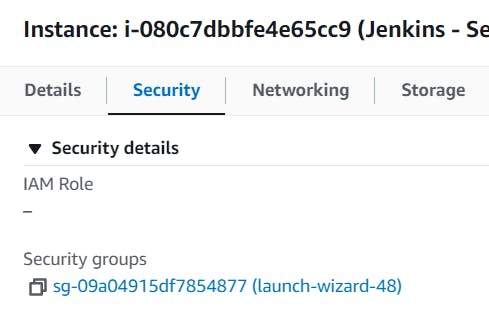
To open the port click on the instance name, it will open up all the details for your instance.
Click on the security tab and then click on the security group name.
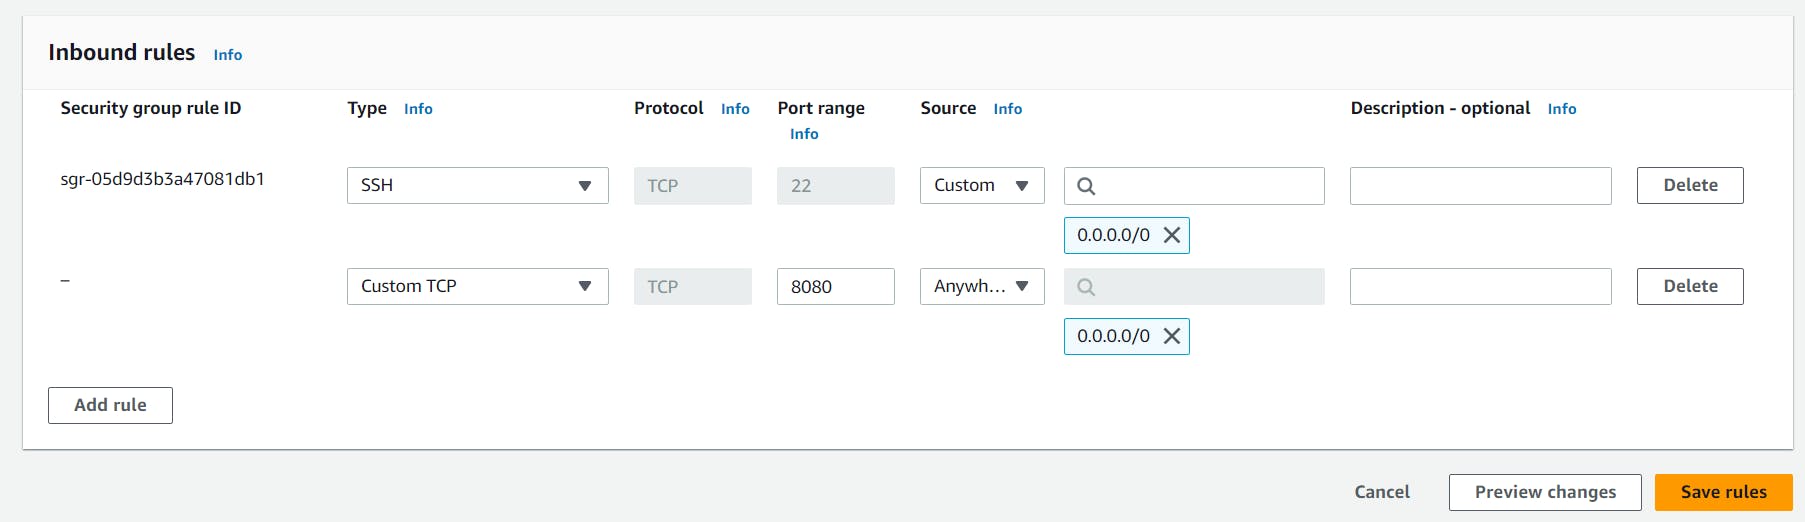
Click on the 'Edit inbound rules' button -> Click on the 'Add rule' button -> In the 'Port range' column enter '8080' -> Under the 'Source' column select 'Anywhere-IPv4' (By selecting this you can access this port from any IP address) -> Then click on 'Save rules' button to allow access to this port.
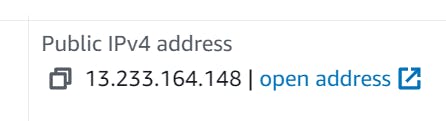
To get the public IP address of your instance, click on your instance name and under the details section, you can view it.
Open this URL on the web browser to access Jenkins: <Public-IP:8080>. It will take to sign in page of Jenkins. First, we have to provide the initial password. To get the password, run this command in your Ubuntu terminal:
sudo cat /var/lib/jenkins/secrets/initialAdminPassword. After entering the password click on continue.After that click on 'Select plugins to install' and on the next page click on 'none' and then click on 'Install'. We will install plugins manually according to our needs.
Then we have to create an admin user. You can provide your custom details, in my case, I am providing a username as 'admin' and a password as 'welcome'. For this project provide these details for convenience.
After creating the user, it will provide you with the URL to access Jenkins. It is the same URL we have used to access Jenkins. Save it somewhere and then continue to the next step.
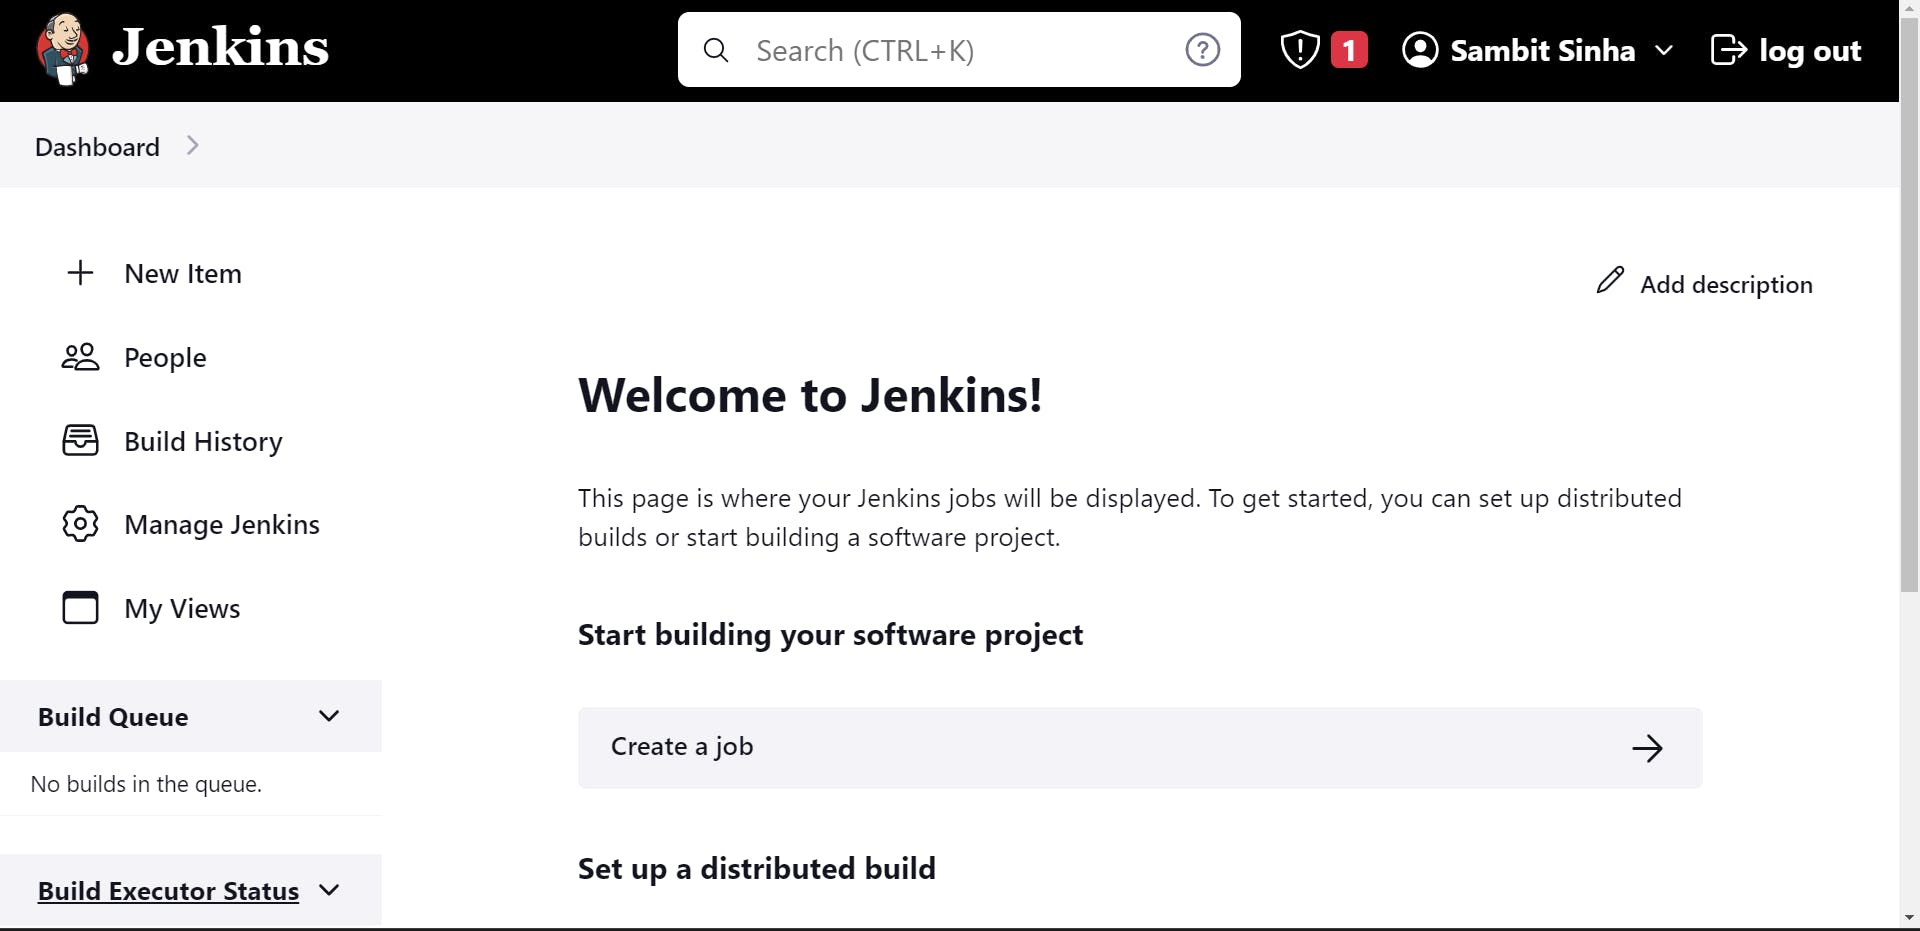
After clicking on 'Start using Jenkins' you should see this page. Now our Jenkins is ready to use. We can install plugins, create jobs, etc.
Install Plugins
After configuring Jenkins for use, we will install the plugins necessary to complete this project. To install any plugin, follow these steps:
Go to Manage Jenkins -> Plugins -> Select Available Plugins -> Search for any plugin -> Select that plugin -> Click on 'Install without restart'
By using the above steps, install these plugins:
Maven Integration
GitHub
After installing the plugins, we also have to tell Jenkins the path of Maven and Java installation directories so that it could use them.
Go to Manage Jenkins -> Tools
Java
Click on Add JDK -> Provide the name 'JAVA_HOME' -> Under name provide this path: /usr/lib/jvm/java-11-openjdk-amd64/
This path can be found by running the command on the Jenkins server: echo $JAVA_HOME
Maven
Click on 'Add Maven' under the Maven section. Provide 'M2_HOME' under the name section -> Uncheck 'Install automatically' as we have already installed it -> Under the name provide this path: /opt/apache-maven-3.9.2/
This path can be found by running the command: echo $M2_HOME
Click on 'Apply' and 'Save'.
'M2_HOME' and 'JAVA_HOME' are the environment variables that we have set previously in the .profile file.
Install Tomcat
Let's set up the application server in which our application will be deployed. In this project, we have used Tomcat as our application server. Follow the steps below to install it:
Select the 'Tomact - Server' instance from the AWS instance page. Then click on 'Connect'. Now you can access the server from the web browser itself.
Update the system packages and install Java using Yum.
  sudo yum update -y
  sudo yum install java-1.8.*
Download and extract Tomcat.
  cd /opt
  sudo wget https://dlcdn.apache.org/tomcat/tomcat-8/v8.5.88/bin/apache-tomcat-8.5.88.tar.gz
  sudo tar -zxvf apache-tomcat-8.5.88.tar.gz
  cd apache-tomcat-8.5.88
Under the apache-tomcat-8.5.88/bin/ directory there are two files 'startup.sh' which is used to start the tomcat service and 'shutdown.sh' which is used to stop the service. Now instead of every time navigating to the bin directory to start or stop the service, we can create a soft link for these two files. A symbolic link, also known as a soft link or symlink, is a special type of file that acts as a reference to another file or directory. It allows you to create a shortcut or alias to a file or directory, making it easier to access.
Check the value of the
$PATHenvironment variable by running the following command:echo $PATHCreate the softlinks for the Tomcat startup and shutdown scripts using the
ln -scommand:sudo ln -s /opt/apache-tomcat-8.5.88/bin/startup.sh /usr/local/bin/tomcatup sudo ln -s /opt/apache-tomcat-8.5.88/bin/shutdown.sh /usr/local/bin/tomcatdownThis creates two symbolic links named
tomcatupandtomcatdownin the/usr/local/bindirectory, pointing to the respective Tomcat scripts.The
sudocommand is used to execute thelncommand with root privileges because creating the symbolic links in the/usr/local/bindirectory requires superuser permissions.After creating the softlinks, you can start the Tomcat service by running
tomcatupand stop it by runningtomcatdown, regardless of your current directory.
By adding the Tomcat scripts location to a directory in the $PATH variable and creating symbolic links, you simplify the process of starting and stopping Tomcat, as you can now execute the commands from any directory without explicitly specifying the script's path.
Check if Tomcat is running.
ps -ef | grep tomcatStart the tomcat service:
sudo tomcatupAccess Tomcat using the public IP address and port 8080 in a web browser:
http://<instance_public_ip>:8080Tomcat and Jenkins both use port 8080. As both of these services run on different instances there will be no issue. But if you want to change the tomcat's port, follow the below steps. However this step is completely optional, feel free to skip it.
Open this file using the vi editor:
sudo vi /opt/apache-tomcat-8.5.88/conf/server.xmlFind the "Connector" section and change the port attribute from 8080 to 8090.

After editing the file, press '
esc' and then type:wqand press enter to save and close the file. Restart the Tomcat service to apply the changes.sudo tomcatdown sudo tomcatupNote: Make sure to allow port 8090 in the security group of your instance. Now access the Tomcat server by using port 8090:
<public-ip-of-your-instance->:8090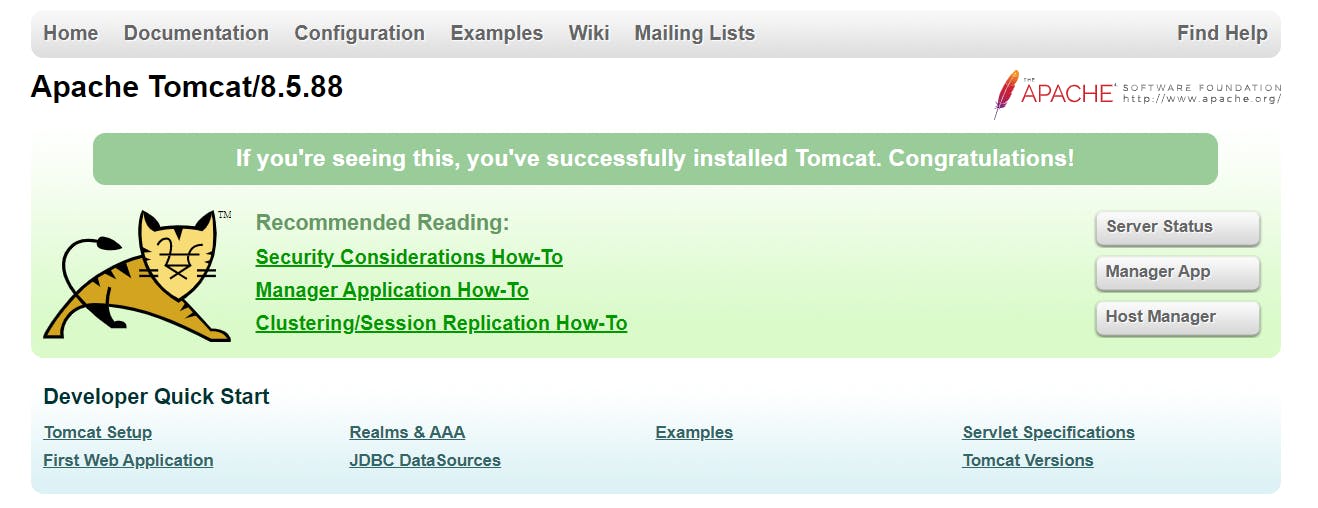
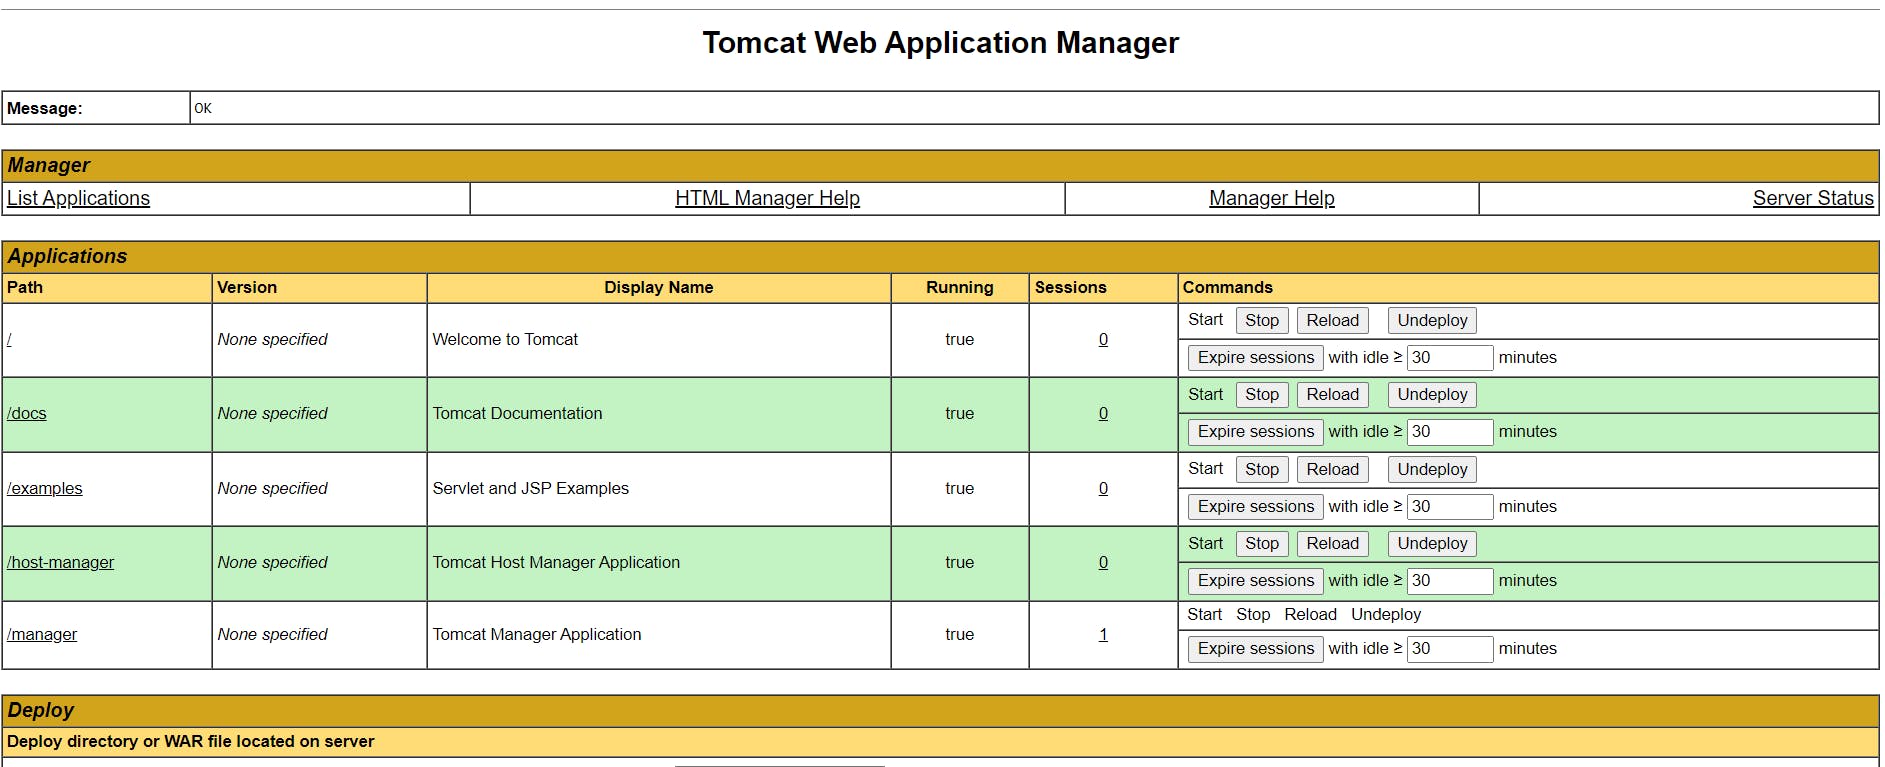
The Manager app in Apache Tomcat allows you to manage and monitor deployed web applications. By default, the Manager app is accessible only from a browser running on the same host as the Tomcat server. However, if you want to access the Manager app from a browser outside of the host, you need to make some configuration changes.
Here are the steps to configure the Manager app for external access:
Find the
context.xmlfiles for the Manager and Host Manager applications. Run the following command:sudo find /opt/apache-tomcat-8.5.88/webapps/ -name context.xmlThis command will list the
context.xmlfiles for both the Manager and Host Manager applications.Edit the
context.xmlfiles for both applications. Use the following commands to open the files in a text editor:sudo vim /opt/apache-tomcat-8.5.88/webapps/host-manager/META-INF/context.xml sudo vim /opt/apache-tomcat-8.5.88/webapps/manager/META-INF/context.xmlIn each
context.xmlfile, locate the<Valve>section and comment it out by adding<!--at the beginning and-->at the end of the section.The
<Valve>section is responsible for restricting access to the Manager app. By commenting it out, you remove the restrictions and allow access from external browsers.After making the changes, the relevant sections of the
context.xmlfiles should look like this:<!-- <Valve className="org.apache.catalina.valves.RemoteAddrValve" --- /> -->Save the files and exit the text editor.
Restart the Tomcat service to apply the changes:
 sudo tomcatdown
 sudo tomcatup
We have to configure user accounts and roles for accessing the Manager app in Apache Tomcat. By default, the Manager app does not have any users defined, so you need to create user accounts and assign roles to them to control access.
To configure user accounts for the Manager app, follow these steps:
Open the
tomcat-users.xmlfile located in the Tomcat'sconfdirectory using a text editor:sudo vim /opt/apache-tomcat-8.5.88/conf/tomcat-users.xmlWithin the
<tomcat-users>section, you can define user accounts and assign roles using XML tags.<role rolename="manager-gui"/> <role rolename="manager-script"/> <role rolename="manager-jmx"/> <role rolename="manager-status"/> <user username="admin" password="admin" roles="manager-gui, manager-script, manager-jmx, manager-status"/> <user username="deployer" password="deployer" roles="manager-script"/> <user username="tomcat" password="s3cret" roles="manager-gui"/>In this example, three user accounts are defined:
adminwith the passwordadminand assigned rolesmanager-gui,manager-script,manager-jmx, andmanager-status.deployerwith the passworddeployerand assigned rolemanager-script.tomcatwith the passwords3cretand assigned rolemanager-gui.
You can modify the usernames, passwords, and roles to suit your requirements.
Save the
tomcat-users.xmlfile and exit the text editor.Restart the Tomcat service to apply the changes:
sudo tomcatdown sudo tomcatupAfter restarting the Tomcat service, you can access the Manager app using the defined user accounts.
Open a web browser and enter the URL for the Manager app:
http://<instance_public_ip>:8090/managerUse the following credentials to log in to the manager app.
 Username: tomcat
 Password: s3cret
Once logged in, you should have access to the Manager app with the corresponding permissions based on the assigned roles.
Create CI pipeline
In the first step, we will create a pipeline that would take the code from the git repository, build it and then generate the WAR file. In the CD step, we will see how we will deploy the generated artifact or the WAR file into an application server.
GitHub repository URL used in the project:
https://github.com/sambit81/Hello-World-Maven.git
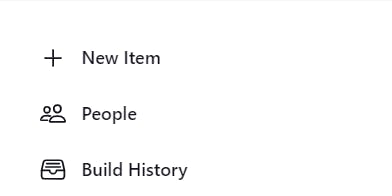
Click on "New Item" on the Jenkins dashboard to create a new project.
Select "Maven project" as the project type and provide 'java-maven-cicd' as the name.
Click on "OK" to proceed to the project configuration page.
In the "Configure" section of the project configuration page, you need to set up the following:
a) Source Code Management:
Select "Git" under the Source Code Management section.
Provide the repository URL in the appropriate field.
If your repository is private and requires credentials, click on the "Add" button next to "Credentials" and provide the necessary credentials.
b) Build:
Specify the path to the
pom.xmlfile in the "Root POM" field. As it is in the root directory of the project only type the name "pom.xml" or specify the path if you change its location.In the "Goals and options" field, enter "clean install package" to perform a clean build, run tests, and package the JAR/WAR file.
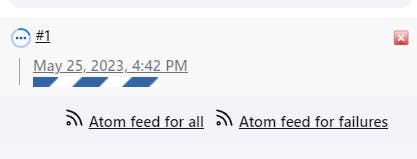
At this point, you have created your first Jenkins pipeline. To run the pipeline and generate the JAR/WAR file:
On the Jenkins dashboard, locate your project and click on its name.
On the project page, click on "Build Now" to start the pipeline execution.
As the execution starts, click on that process and then click on Console Output to view all the live logs and steps it is performing.
Jenkins will initiate the pipeline, which will perform the specified actions, including cloning the repository, building the project, and generating the JAR/WAR file.
Once the pipeline execution is complete, you can locate the generated JAR/WAR file in the project workspace or any other specified location.
To view the file run this command:
ls /var/lib/jenkins/workspace/java-maven-cicd/webapp/target/
Create CD pipeline
Now that we have our package generated, we can deploy it on some application servers. After deploying the application, users will be able to access the application.
To set up a Continuous Deployment (CD) job in Jenkins to deploy your application to a Tomcat web server, follow these steps:
Provide Credentials to Jenkins:
Under the 'Credentials' section in Jenkins, add the necessary credentials for accessing the Tomcat server. You will need to provide a username (e.g., "deployer") and assign the "manager-script" role.
Go to 'Manage Jenkins' -> Navigate to Credentials under the security section -> Click on 'System' -> Click on 'Global credentials (unrestricted)' -> Click on 'Add Credentials' -> Add these credentials:
Username: deployer
Password: deployer
ID: tomcat-deployer
Description: tomcat-deployer
Install the "Deploy to Container" Plugin:
- Navigate to the Jenkins plugin manager and install the "Deploy to Container" plugin. This plugin enables Jenkins to deploy the application to the Tomcat server. Follow the steps discussed above in the install plugins section.
Configure the pipeline:
Click on the 'java-maven-cicd' project. Then click on 'Configure' from the left side panel.
Under the "Post-build Actions" section, click on 'Add post-build action' and select the "Deploy war/ear to a container" option. This option is made available after installing the "Deploy to Container" plugin.
Specify the path to the WAR file that needs to be deployed. You can use the pattern
**/*.warto search for the WAR file within the workspace directory.Choose the Tomcat 8.x server from the "Container" dropdown list.
Provide the Tomcat server URL (e.g.,
http://<public-IP-of-your-tomcat-instance>:8090) and select 'tomcat-deployer' from the credentials dropdown.Apply the changes and save the configuration.
After doing all the changes build the project. After the build is completed navigate to this URL: http://<public-IP-of-your-tomcat-instance>:8090/webapp/The application will be running in the web browser.

'webapp' here is the artifact(.war file) built by Maven and was deployed to the Tomcat server through Jenkins.
During the build process, the .war file is deployed on the Tomcat server, and copying it to Tomcat's 'webapps' directory. This is the full path where the file is located on Tomcat's server: /opt/<tomcat-extracted-folder-name>/webapps/webapp.war and it can be accessed through the above URL. Before deploying to the Tomcat server, the .war file is first generated at the Jenkins level and it can be found at this path: /var/lib/jenkins/workspace/java-maven-cicd/webapp/target/webapp.war
Automate the process
One way to do all the above processes is when developers upload their code to the git repository, a manual build is triggered through the Jenkins web UI. Another way is to trigger the build automatically as soon as there is any change in the git repository. This can be achieved by configuring the GitHub webhook for our project.
To configure this, follow these steps:
Select your project from the Jenkins home page and click on 'Configure'. Under 'Build Triggers' check this option. This allows Jenkins to receive notifications whenever there is a change in the repository, such as a new commit or a pull request.

Now, navigate to the GitHub repository page -> Go to Settings -> Click on 'Webhooks' from the left pane -> Click on 'Add webhook' -> In the 'Payload URL' provide the URL to access Jenkins and attach '/github-webhook/' to the end of the URL.
Example:
http://15.207.110.73:8080/github-webhook/Set the 'Content type' to 'application/json' and leave everything as default and click on 'Add webhook'. After adding the webhook refresh the page to check the connection. If the connection was successful, it would look like this:

Jenkins is configured to listen for events from the repository using a GitHub webhook. Whenever there is a change (e.g., a commit, a new branch, a pull request) in the repository, GitHub sends a webhook notification to Jenkins. Jenkins receives the webhook and automatically triggers the build process for the associated project/job. The build process starts without any manual intervention.
To see this action, we have to make some changes in the GitHub repository. Navigate to this path in the repository: (webapp/src/main/webapp/index.jsp). Now make some changes in the 'index.jsp' file and commit the changes. Now head back to Jenkins web UI and wait for a build to start. Soon, you will see that a new build will be triggered.
After that build is completed, the new application will be deployed on the server. To view the changes head to Tomcat server URL: http://<public-IP-of-your-tomcat-instance>:8090/webapp/
It's important to note that in this project, only one pipeline is used for CI/CD, but in more complex scenarios, you may have multiple pipelines for different stages or environments. The steps provided here focus on configuring a single CD job within Jenkins.
Conclusion
In conclusion, this tutorial demonstrated how to set up a seamless CI/CD pipeline using Jenkins and Tomcat for Java applications. By following the steps outlined, you can automate the build and deployment process, allowing developers to focus on writing code and improving application features. Integrating GitHub webhooks ensures that the pipeline is triggered automatically upon changes in the repository, further streamlining the development workflow.