Table of contents
- What it's about?
- Workflow
- Create an instance for Ansible
- Install Ansible
- Add a user for Ansible and Tomcat Server
- Add Tomcat server details
- Enable password-based authentication
- Enable password-less authentication
- Create a playbook
- Configure the 'Publish Over SSH' plugin
- Add Ansible server in Jenkins
- Configure the Job
- Execute it!
- Conclusion
This project is a continuation of the previous one. Allow me to briefly describe what we accomplished in that project. We deployed a Java-based web application on a Tomcat server. Initially, we utilized Jenkins to obtain the source code from the Git repository. Next, we employed Maven to build the project and generate the artifacts, such as JAR/WAR files. We then installed a plugin called 'Deploy to Container', which facilitated the deployment of artifacts to an application server. Subsequently, we added credentials for the Tomcat server in Jenkins, enabling authentication with the server. Finally, we deployed the WAR file to the application server using the plugin.
Finally, we configured the GitHub webhook for our project, so that whenever developers make any changes to the GitHub repository, it automatically triggers a build process in Jenkins. Once the artifacts are generated, they are automatically deployed to the application server, thereby streamlining the entire workflow.
What it's about?
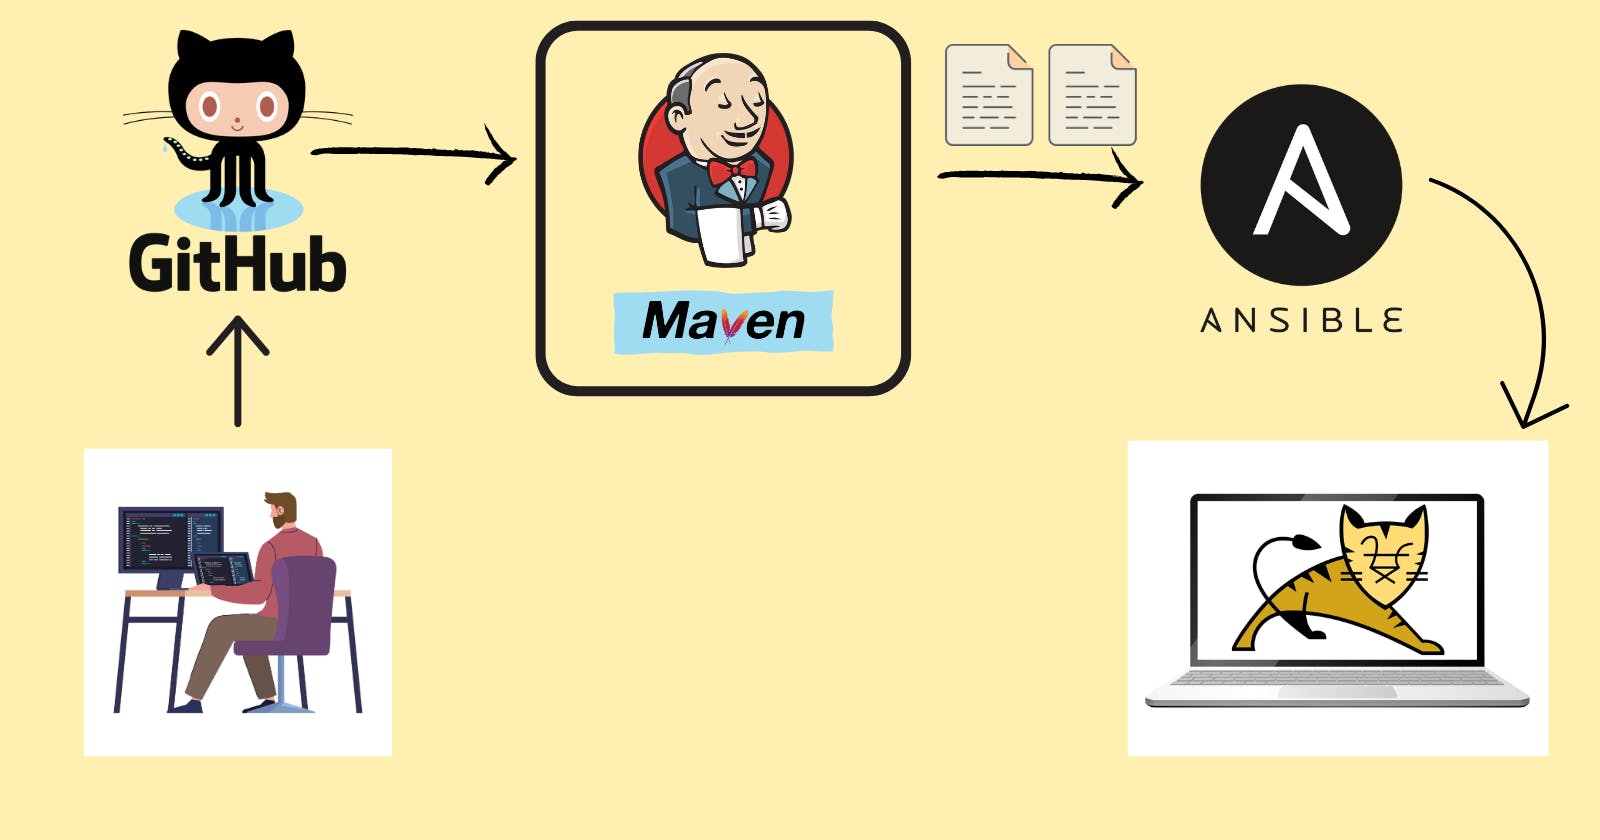
In this project, we will deploy the same application, but instead of using Jenkins as a deployment tool, we will use Ansible. Previously, we utilized the 'Deploy to container' plugin in Jenkins to deploy artifacts on the application server. Here, we will replace that plugin with another one called 'Publish over SSH' which will copy the artifacts to the Ansible server. The Ansible server will then deploy the artifacts to the Tomcat server, which is the same application server we used previously. Easy and simple!
Deploying artifacts to the application server is a task for Ansible! As you might know, Ansible uses playbooks to initiate any kind of task on target systems. Playbooks are simply YAML files. We will also create a YAML file that will deploy the artifacts to the application server.
In this project, the only difference is that we will use Ansible as the deployment tool instead of Jenkins. Although everything will still be initiated from Jenkins, the deployment process will be carried out through Ansible.
If you haven't followed the previous project, I recommend doing so first, as this project is a continuation of the previous one. In that project, I discussed:
Setting up instances in AWS.
Installing Jenkins on the Jenkins server.
Installing Maven on the Jenkins server.
Configuring the Jenkins server and installing plugins.
Installing Tomcat on the Tomcat server.
Creating a CI/CD pipeline.
Automating the process using GitHub Webhooks.
Follow the above steps to set up the infrastructure.
In this project, we will utilize the same infrastructure from the previous project, which includes one Jenkins server and one Tomcat server. Additionally, we will add another server to run Ansible, which will serve as a deployment server. These servers are simply EC2 instances created on AWS.
Link to the previous project: sambitsinha.hashnode.dev/day-1-cicd-setting..
Workflow
Create an AWS instance for Ansible.
Install Ansible on the server.
Create a user on the Ansible server and Tomcat server and give root privileges to the user.
Switch to the new user on the Ansible server and enable password-less authentication between Ansible and Tomcat servers.
Create an Ansible playbook and configure the 'Publish Over SSH' plugin.
Configure the project to use the plugin.
Execute the pipeline and automate the process.
Create an instance for Ansible
First, log in to your AWS account from this link. If you do not have an account, you can set it up using this documentation page.

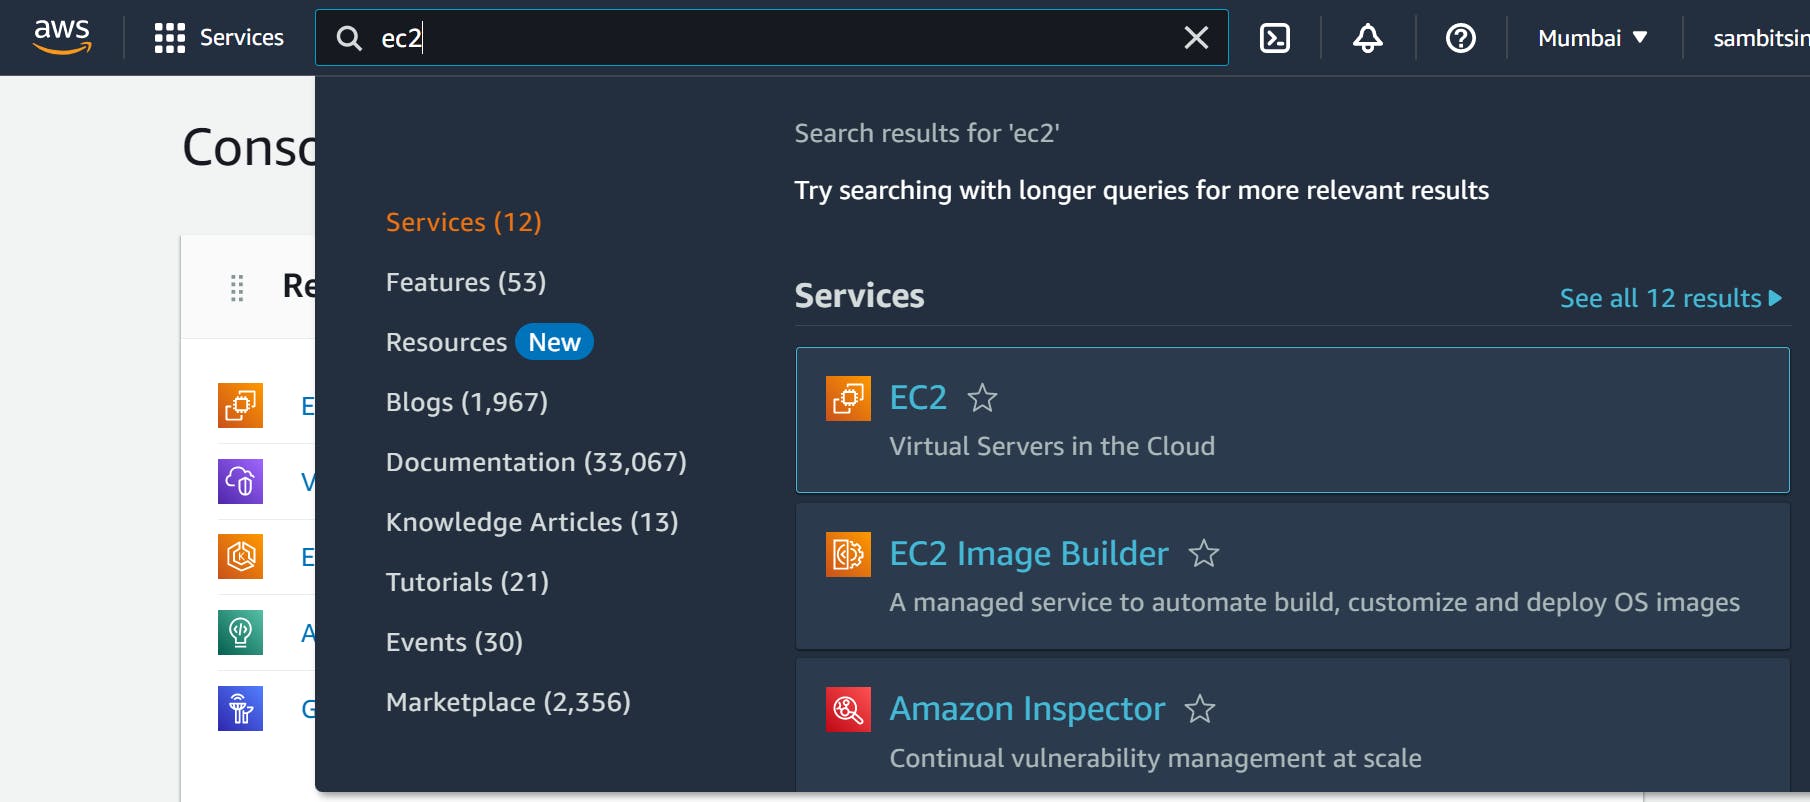
After logging in, search for 'ec2' in the search box.
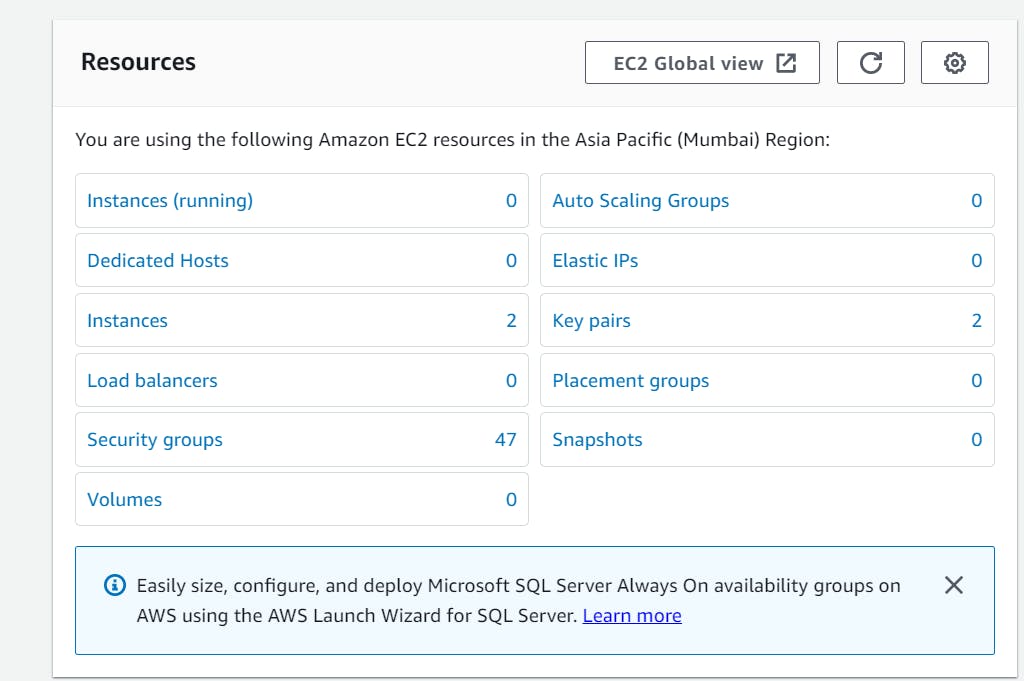
After clicking on EC2, click on instances.
On the create instances page, do the following:
-> Give the name 'Ansible - Server' in the name section.
-> Number of instances should be 1.
-> Select 'Ubuntu' from the OS images.

-> In the key-pair section, click on 'Create new key pair' and provide a name and leave everything else as default. Then click on 'Create key pair'
-> Leave everything else as default and click on 'Launch instance'
By following all these steps, the Ansible server will be ready by now along with the Jenkins server and Tomcat Server.

Install Ansible
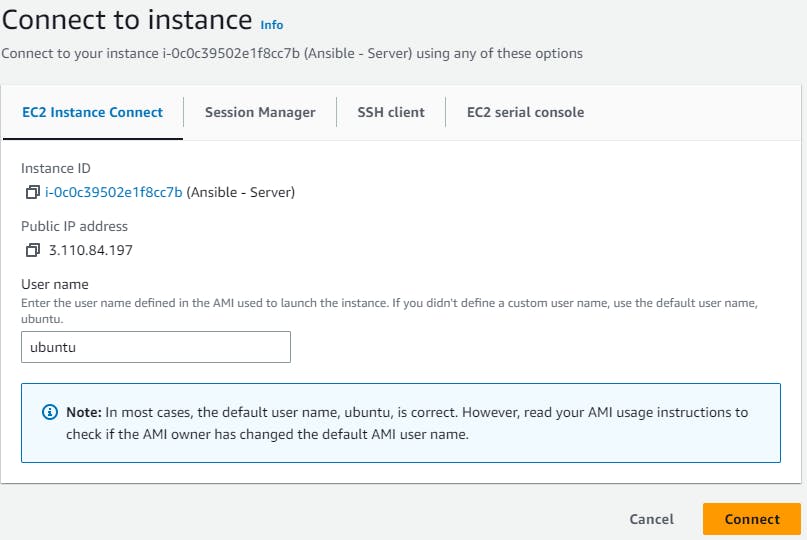
To install Ansible, we must log in to the Ansible server. Select the 'Ansible - Server' instance from the list and click on 'Connect'. You will be prompted to enter a username; leave the default settings and click 'Connect'. This will grant access to the server through the web browser.

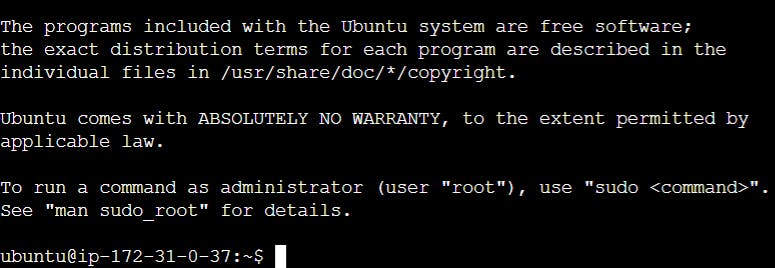
Run these commands to install Ansible on the server.
  sudo apt update
  sudo apt install software-properties-common
  sudo add-apt-repository --yes --update ppa:ansible/ansible
  sudo apt install ansible
To check the version of Ansible installed, run this command:
ansible --version
Add a user for Ansible and Tomcat Server
Ansible - Server
To add a user run this command:
sudo adduser ansadminAssign and confirm a password for the new user.
Enter any additional information about the new user. This is optional and can be skipped by pressing
ENTERif you don’t wish to utilize these fields.Finally, you’ll be asked to confirm that the information you provided was correct. Press
Yto continue.
A new user is created along with a group that shares the same name as the username. This group is created simultaneously with the new user. To verify the group, execute the following command:
groups ansadminTo grant root privileges to the 'ansadmin' user, execute the following command:
sudo usermod -aG sudo ansadminFor the 'Tomcat - Server', follow the steps above to add a user, set a password, and grant root privileges to the user.
Tomcat - Server
To add a user, execute the following command:
sudo adduser ansadminSet a password for the user to enable login with this account:
sudo passwd ansadminYou will be prompted to enter the password twice for confirmation. Once this is done, your new user account is set up and ready for use! You can now log in as this user, using the password you established.
Grant sudo privileges to the 'ansadmin' user
To allow the 'ansadmin' user to execute commands with root privileges, add the user to the 'wheel' group. The 'wheel' group automatically grants sudo access to all its members by default.
sudo usermod -aG wheel ansadmin
Add Tomcat server details
First, we need to add the target servers to the /etc/ansible/hosts file. These are the systems on which Ansible will implement configuration changes.
To do this, first access the Ansible server from the AWS Instances page by clicking on "Connect."
If you are already logged in as the 'ansadmin' user, log out by pressing 'CTRL + d'.
Run this command to become a root user:
sudo suAfter becoming the root user, open the 'hosts' file using the vi editor by executing the following command:
vi /etc/ansible/hostsPress 'i' to enter insert mode. Then, paste the following instructions into the file.
  [web-servers]
  <private-ip-of-tomcat-server>
After pressing
ESC, type:wqand pressENTERto save and close the file.
Enable password-based authentication
Follow these steps in the Ansible server to enable password-based authentication:
If you are already logged in as the 'ansadmin' user, log out by pressing 'CTRL + d'.
First, switch to the root user by entering:
sudo suWe need to make some modifications to the SSH configuration file. The file, named sshd_config, is located at: /etc/ssh/sshd_config
Open the file using the vi editor by entering: vi /etc/ssh/sshd_config, and implement the following changes:
Uncomment 'PermitRootLogin' and set its value to 'yes'.

Uncomment 'PasswordAuthentication' and set its value to 'yes'. If 'PasswordAuthentication' is written multiple times make sure to set the first one to 'yes' and comment the rest of it. Comment the 'PermitEmptyPasswords' field if it is uncommented.

Save and close the file.
Now that we have edited the configuration file, we have to restart the service. To restart the sshd service, run this command:
systemctl restart sshdCarry out all these steps on the Tomcat server as well.
After completing all the necessary steps, we can now use password-based authentication to SSH into the Tomcat server from the Ansible server. To do this, first switch to the 'ansadmin' user on the Ansible server by entering the command:
su - ansadmin. If asked, provide the password you set for this user. We switched to the 'ansadmin' user because Ansible will transfer the artifacts to the Tomcat server using the 'ansadmin' user account.
After switching to the 'ansadmin' user, execute the following command on the Ansible server: ssh <private-ip-of-tomcat-server>
When prompted, type 'yes' and then enter the password for the 'ansadmin' user you have set on the Tomcat server. This follows the simple principle that a root user communicates with another root user. In this case, the 'ansadmin' user on the Ansible server communicates with the 'ansadmin' user on the Tomcat server.
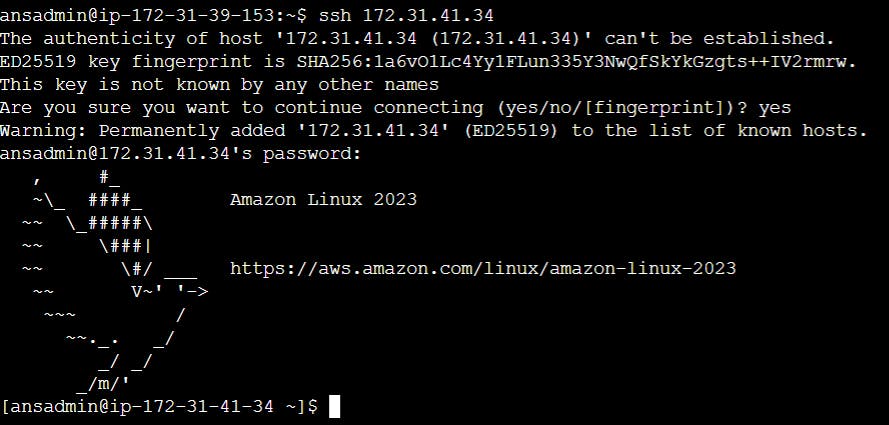
We have successfully utilized password-based authentication to access the Tomcat server from the Ansible server. Next, we will explore enabling passwordless authentication to prevent password prompts when the Ansible server attempts to copy artifacts to the Tomcat server via an SSH connection. Press 'CTRL + d' to log out and close the connection.
Enable password-less authentication
Now that we have added the user to both servers, we need to establish passwordless authentication between the Ansible server and the Tomcat server. By doing this, the Ansible server will not prompt for a password when attempting to copy the application to the Tomcat server. In my previous project, we added credentials directly to Jenkins for deploying the application on the Tomcat server. This allowed Jenkins to use those credentials to authenticate itself with the Tomcat server when deploying the application.
To enable passwordless authentication between the Ansible and Tomcat servers, we must generate a public and private key pair on the Ansible server. Then, we need to copy the public key to the Tomcat server, allowing it to recognize the Ansible server as a known host. This process ensures that the Tomcat server will not prompt for passwords.
To enable passwordless authentication, follow these steps on the Ansible server:
In password-based authentication, there are some modifications made in the SSH service file. I assume that you have already made the necessary changes as outlined in the password-based authentication section and in addition to those, we need to make some further changes in the service file to ensure passwordless authentication functions correctly.
If you are logged in as the 'ansadmin' user, log out by pressing 'CTRL + d'. Next, run the command
sudo suto switch to the root user. Once you have switched to the root user, open the configuration file using the vi editor by entering: vi /etc/ssh/sshd_config. Uncomment the relevant fields and set their values as follows:


Save and close the file.
After that switch to the 'ansadmin' user as the Ansible server will communicate with the Tomcat server as the 'ansadmin' user.
su - ansadminProvide the password if asked.
Generate an SSH key pair, which will be used for authentication. Execute the following command:
ssh-keygenPress
ENTERwhen:Prompted to enter the file name in which to save the key.
Prompted for a passphrase.
Prompted to enter the same passphrase again.
The public key and private key will be generated in the .ssh folder, located within the 'ansadmin' user's home directory.
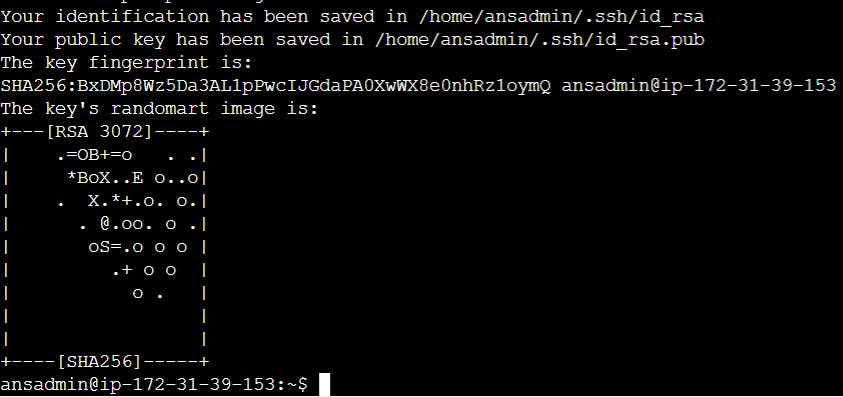
Then, execute this command to grant full permissions to the public key.
chmod 777 /home/ansadmin/.ssh/id_rsa.pubNow, we need to copy the public key to the Tomcat server. To accomplish this, execute the following command:
ssh-copy-id -i /home/ansadmin/.ssh/id_rsa.pub ansadmin@<private-ip-of-tomcat-server>In this command 'ansadmin@<private-ip-of-tomcat-server>' is the user present in the Tomcat server.
When prompted for confirmation, type 'yes'.

One final time, you will be prompted for the 'ansadmin' user's password you have set on the Tomcat server. Enter the password and press
ENTER.
After completing all the steps, we can now establish a secure SSH connection to the Tomcat server. To do so, execute the following command:
ssh <private-ip-of-tomcat-server>
You now have passwordless access to the Tomcat server. To exit the server, press 'CTRL + d'.
Create a playbook
To perform all the steps here, first, switch to the root user on the Ansible server. If you are logged in as the 'ansadmin' user, log out by pressing 'CTRL + d'. Then, change to the root user by running this command: sudo su
Now, create a playbook on the Ansible server, which will copy the .war file onto the Tomcat server. Since Ansible uses playbooks to configure its target systems, we will create a playbook under the /opt/playbooks directory. This playbook will be executed by Ansible on the Ansible server, but the execution will be triggered by the Jenkins server. We will not manually access the Ansible server and execute it.
Create the 'playbooks' directory within the /opt directory.
mkdir -p /opt/playbooks/Navigate to the 'playbooks' directory:
cd /opt/playbooks. Next, create a file named 'copy_war.yaml'. Execute the command 'vi copy_war.yaml' and paste the following content.--- - hosts: web-servers become: true tasks: - name: Copy war file onto tomcat server copy: src: /opt/playbooks/webapp/target/webapp.war dest: /opt/apache-tomcat-8.5.88/webappsIn the playbook, it uses a folder called 'apache-tomcat-8.5.88'. Here '8.5.88' refers to the Tomcat version installed on the Tomcat server. It can be different in your case. So, modify it accordingly in the playbook.
After pressing
ESC, type:wqand pressENTERto save and close the file.In this playbook, 'hosts' refers to all target machines where Ansible will execute the playbook. It is specified as 'web-servers', which is a group that can contain multiple servers.
The 'become: true' statement indicates that the playbook will be executed on target systems with root privileges.
The 'tasks' section lists all tasks to be performed on the target systems.
This playbook includes a single task named 'Copy war file onto tomcat server', which utilizes the 'copy' module.
Ansible offers various modules, each with different use cases. In this instance, the 'copy' module is responsible for copying the war file located at '/opt/playbooks/webapp/target/webapp.war' on the Ansible server to the '/opt/apache-tomcat-8.5.88/webapps' directory on all target systems.
In the playbook, the 'src' refers to the directory on the Ansible server. Therefore, we need to create the directory and change its owner to the 'ansadmin' user. If we don't change the owner, the 'ansadmin' user will not be allowed to make changes to this folder.
Create the directories using the following command:
mkdir -p /opt/playbooks/webapp/target/Change the ownership of the 'target' directory to the 'ansadmin' user:
chown ansadmin /opt/playbooks/webapp/target/
Configure the 'Publish Over SSH' plugin
We need to install the 'Publish Over SSH' plugin, which will transfer the artifacts to the Ansible server. To install the plugin, follow these steps:
Navigate to Manage Jenkins -> Plugins.
Select Available Plugins.
Search for 'Publish Over SSH'.
Choose the plugin from the search results.
Click on 'Install without restart'.
Add Ansible server in Jenkins
Now, we need to add the Ansible server details in Jenkins. To do this, click on 'Manage Jenkins' from the Jenkins dashboard. Next, click on 'System' under the 'System Configuration' section. After that, scroll down to the 'Publish over SSH' section. In this section, we will input the necessary information about the Ansible server.
Click on 'Add' under 'SSH Servers' and then provide these details:
Name: Ansible
Hostname: <private-ip-of-anisible server>
Username: ansadmin
Next, click on the Advanced drop down

Ensure the 'Password Authentication' option is selected.

In the 'Passphrase/Password' section, enter the password for the 'ansadmin' user located on the Ansible server.
Click on 'Test Configuration' to verify the connection with the server. If everything functions properly, a 'Success' message will be displayed.

Click on 'Apply' and 'Save' to save the settings.
Configure the Job
Select the 'java-maven-cicd' project from the Jenkins dashboard. Then, click on 'Configure' in the left side panel. In the previous scenario, we had container deployment configuration in the post-build action step. We will remove this since we are not directly deploying to the Tomcat server.
Now, the artifacts generated will be stored on Jenkins itself. We need to copy these artifacts over to the Ansible server so that it can deploy them to the target systems.
To configure this, click on 'Add post-build step'.

Click on 'Send files or execute commands over SSH'.
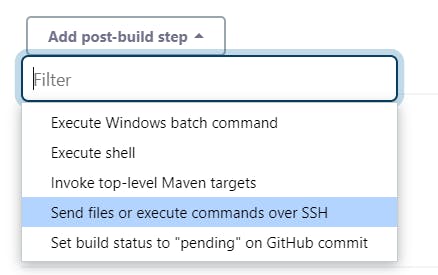
Select 'Ansible' from the list.

In the 'Transfer' section, implement the following modifications:
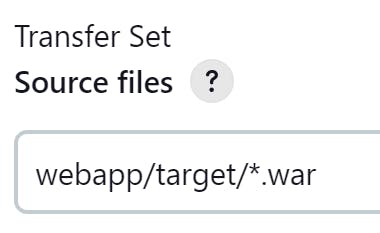
Source files: webapp/target/*.war
This refers to the location on the Jenkins server where the artifact file is located after being built. Specifically, it refers to /var/lib/jenkins/workspace/java-maven-cicd/webapp/target/*.war (* represents any file with the .war extension).
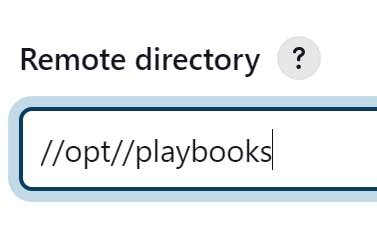
Remote directory: //opt//playbooks
Here we used '//' because it can't identify the single '/' character.
The remote location to which it will be copied is /opt/playbooks/webapp/target/, a directory that has already been created on the Ansible server.
We have now added a task that will copy the file to the Ansible server. Next, we will add another task that triggers the execution of the playbook on the Ansible server. Scroll down and click on 'Add post-build step' -> 'Send files or execute commands over SSH'
Leave the other fields empty, and in the 'Exec command' field, paste this command:
ansible-playbook /opt/playbooks/copy_war.yaml --extra-vars "ansible_sudo_pass=<password>"The <password> here refers to the password you have set for the 'ansadmin' user on the Tomcat server.
This will execute the playbook on the Ansible server.
Execute it!
To perform the mentioned checks before executing the job, follow the steps below:
Ensure that the Tomcat server is running:
Get access to the Tomcat server from the AWS Instances page.
Execute the following command to check if the Tomcat service is running:
systemctl status tomcatIf the service is active and running, you will see a message indicating its status. If not, proceed to the next step.
Start the Tomcat service:
Become the root user by executing:
sudo suChange the directory to the Tomcat installation bin folder:
cd /opt/apache-tomcat-8.5.88/bin/Start the Tomcat service by running the startup script:
./startup.shAfter executing this command, Tomcat should start, and you should see an output indicating the server is running.
Stop the Tomcat service (if necessary):
To stop the Tomcat service, execute the following command in the Tomcat bin directory:
./shutdown.sh
Use soft link commands (if applicable):
If you have previously implemented the soft link concept for starting and stopping the service, you can use the following commands:
To start the service:
tomcatupTo stop the service:
tomcatdown
Check this link on how to setup soft links: https://sambitsinha.hashnode.dev/day-1-cicd-setting-up-and-deploying-a-java-application#heading-install-tomcat
Verify if the Tomcat service is running:
To check if the Tomcat service is running, execute the following command:
ps -aux | grep tomcatIf the service is running, you will see output similar to the following:

If the service is not running, you will see the following output:

You can also use the above 'systemctl' command to check the status.
Access the deployed application on the Tomcat server:
In a web browser, enter the following address, replacing
<public-ip-of-tomcat-server>with the actual public IP of your Tomcat server:http://<public-ip-of-tomcat-server>:8090/webappIf the application is deployed correctly and accessible, you should see the web application in the browser.
Now, we are ready to execute the pipeline. Navigate to the Jenkins dashboard, then click on the 'java-maven-cicd' project from the list. Then click on 'Build Now' from the left side panel.
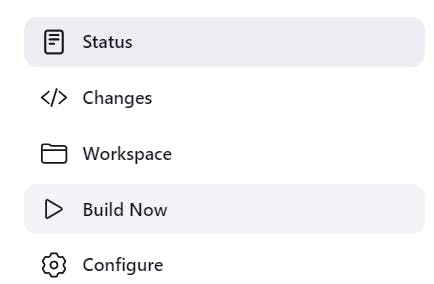
A new build will be triggered.
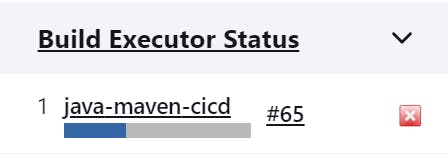
The build was successful.

On visiting this URL: <public-ip-of-tomcat-server>:8090/webapp, we can see the following output.

What happened?
Jenkins triggers a new build and pulls the source code from the Git repository.
Tests are run on the source code.
The build phase begins, where the source code is built, and artifacts are generated.
Location of artifacts (webapp.war) in Jenkins server:
/var/lib/jenkins/workspace/java-maven-cicd/webapp/target/
The post-build phase starts, and tasks are executed.
The artifacts are copied to the Ansible server.
Location of artifacts in Ansible server:
/opt/playbooks/webapp/target/
The playbook execution is triggered on the Ansible server from Jenkins.
The playbook deploys the artifacts to the Tomcat server.
The deployed application is accessible at:
<public-ip-of-tomcat-server>:8090/webappLocation of artifacts in Tomcat server:
/opt/apache-tomcat-8.5.88/webapps/
Automate it!
Up until now, we've had a manual process, meaning we need to manually trigger the build from the Jenkins dashboard for the application to be deployed on the Tomcat server.
However, we want to automate this process. As soon as developers make changes to the Git repository, the build should be triggered automatically, and the application should be deployed.
To achieve this, we need to configure the GitHub webhook for our project. By doing so, whenever there are changes in the GitHub repository, such as new commits, Jenkins will automatically receive notifications from GitHub to initiate a new build process.
I've discussed these steps in a previous project on CI/CD, so you can easily configure it by following those instructions.
Link to configure GitHub webhook: https://sambitsinha.hashnode.dev/day-1-cicd-setting-up-and-deploying-a-java-application#heading-automate-the-process
Conclusion
In conclusion, this project demonstrates how to deploy a Java-based web application using Jenkins and Ansible in a CI/CD pipeline. By integrating Ansible as the deployment tool, we can streamline the process and automate artifact deployment to the Tomcat server. As a result, developers can focus on writing code and making updates, while the pipeline takes care of building, testing, and deploying the application. By following the steps outlined in this article, you can set up your own CI/CD pipeline using Jenkins and Ansible, ensuring a streamlined and efficient workflow for your development projects.
